This took about an hour from start to finish including all of the pics and some searching through the factory manual. No need to put the car in the air which is always nice but you are messing with your transmission so if you're not comfortable with this take it to a shop, it should just be an hour for the install.
Not many tools required for this one sadly, always more fun to have the entire toolbox empty :)
- T20 torx screwdriver
- 10mm socket
- 13mm socket
- 13mm combination wrench
- magnet tool
- ratchet wrenches and extensions
- wobble adapter
- channel locks (for hose clamps)
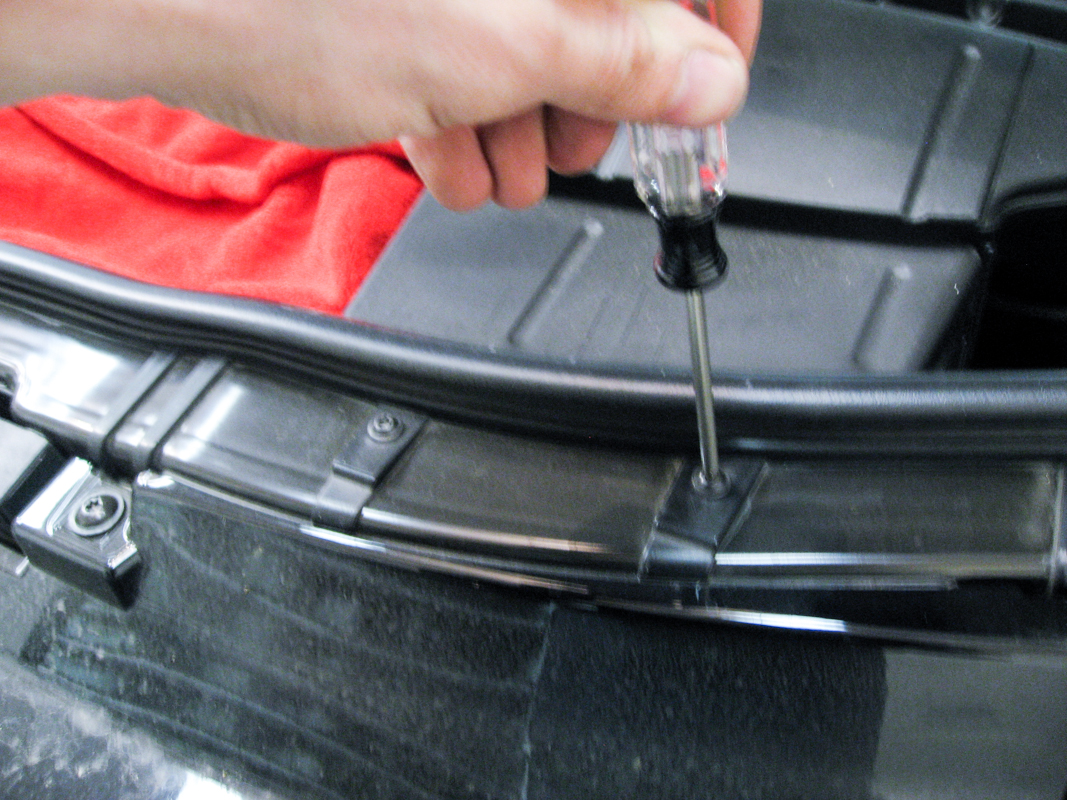
To start you'll need to remove the airbox. First remove the two T20 torx screws that secure the air scoop at the grill.
Then you can release the hose clamps for the intake hose and the DV recirc line. I find it easier to remove the DV from the throttle body end.

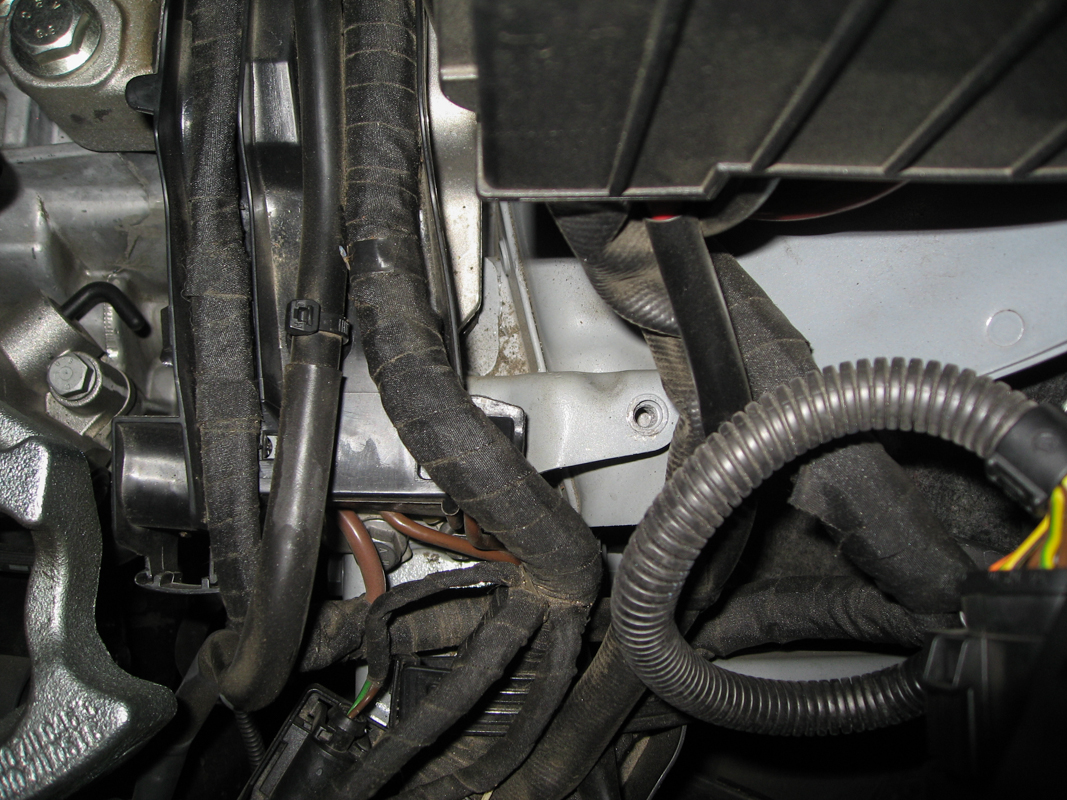
Then all that's left holding the airbox in place are two 10mm bolts. These are a bit of a reach so you'll need an extension and make sure you have a magnet tool on hand to get them out so you don't drop them. The forward one can be located between the airbox and the relay box tucked amongst some wires. The rear one is between the airbox and the firewall, secured on a small metal tab.
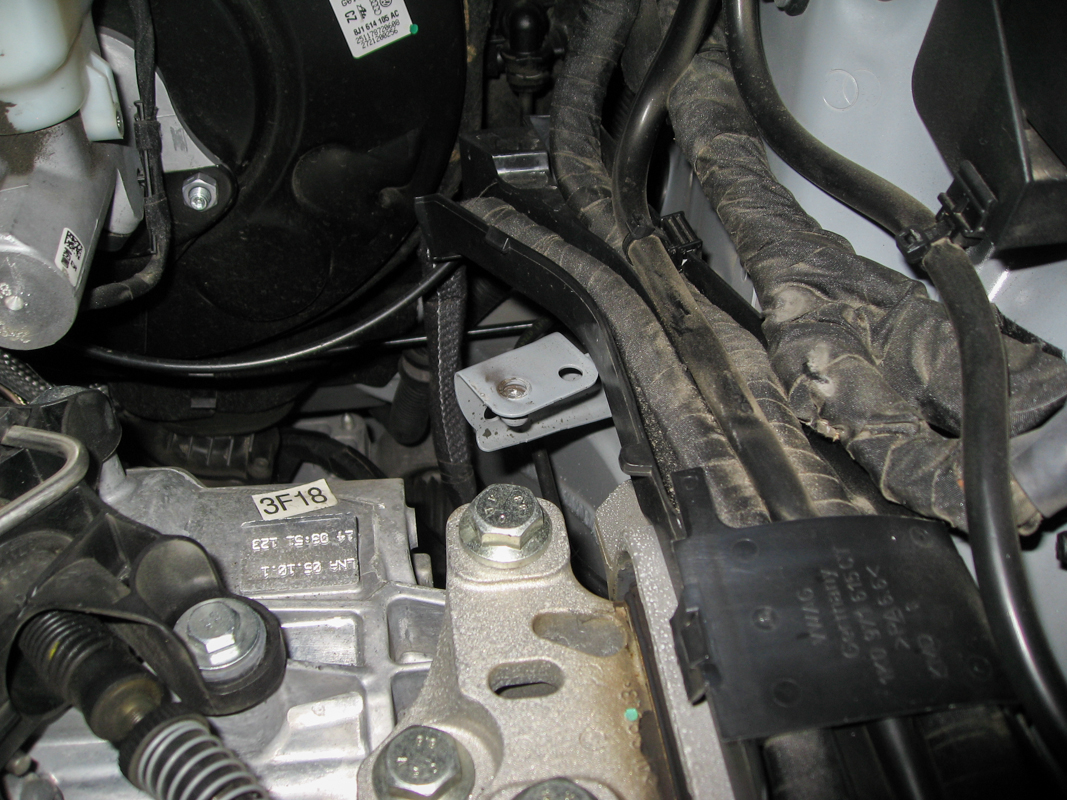
Pop the airbox up and set it aside. You can see your victim below it. The cable bracket is held in place with three 13mm bolts that are all fairly easy to access.
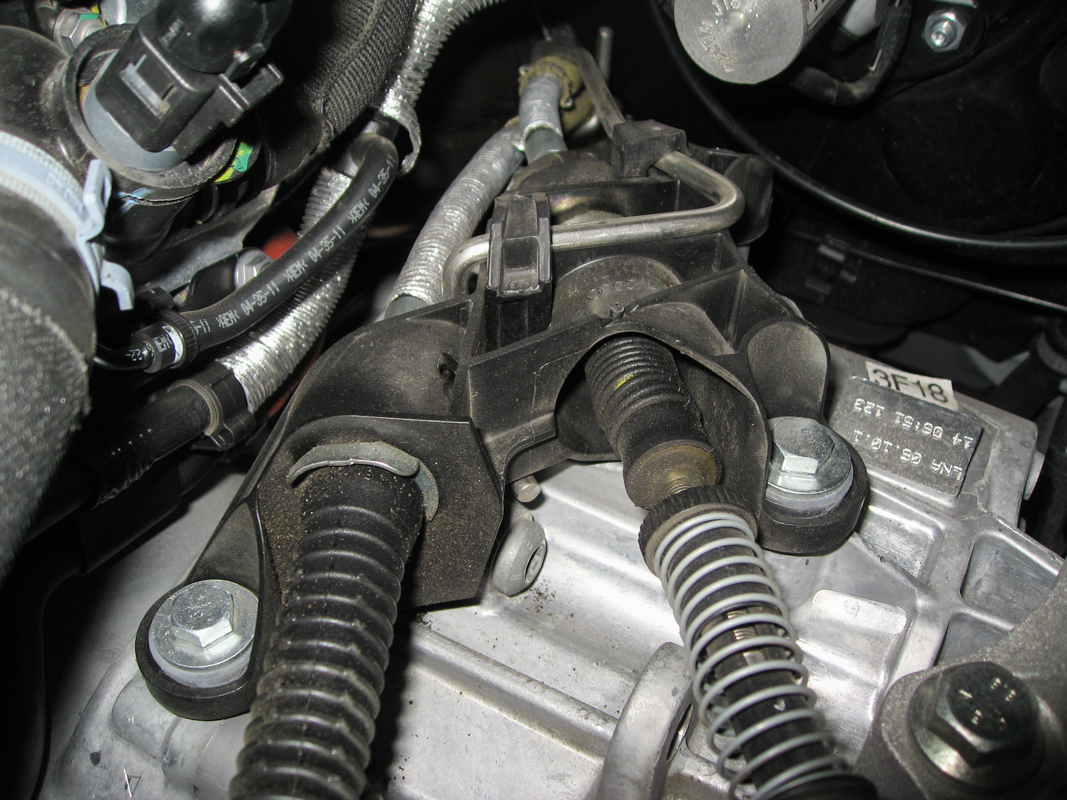
In theory since the bracket just acts as a cable guide removing the bolts and bushings should not affect your shift linkage adjustment. To be on the safe side I only ever removed two bolts at a time. There's enough slack here that even with one bolt still tight you can get the other two out. I started with the front two bolts. The first you have direct access to, the other it can help to have a wobble adapter so that you can work around a coolant line. Don't loosen the rear bolt at all at this point.
The factory bushings are comprised of a rubber grommet that has a metal insert. The insert pushes out through the bottom pretty easily. Some spray lube may help here but on my car everything came out pretty easily.
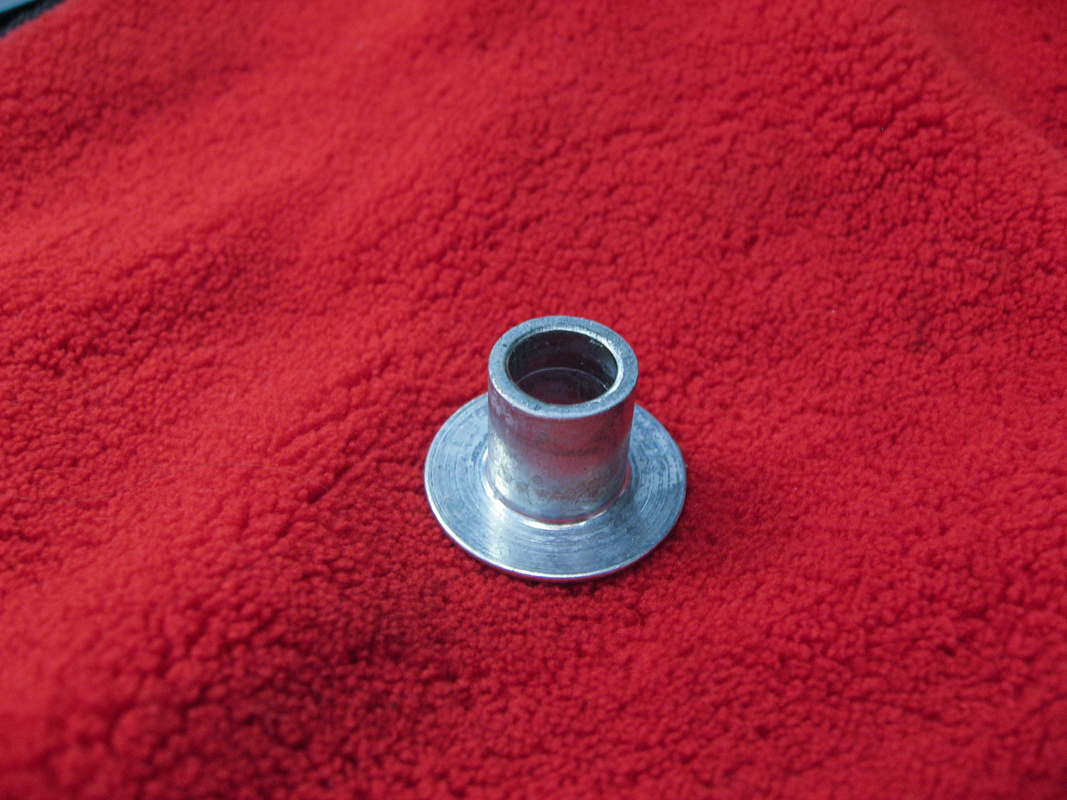
The grommet has a groove that fits onto the bracket so that takes a bit more effort to remove. You should be able to get one finger underneath and squeeze it into the hole while pulling from the top. These came out pretty easily for me but again, some silicone spray may help a bit. You can ramp that up to grabbing onto the rubber with channel locks to get more leverage but that may tear the rubber. Worst case you can cut them out but that should NOT be necessary.

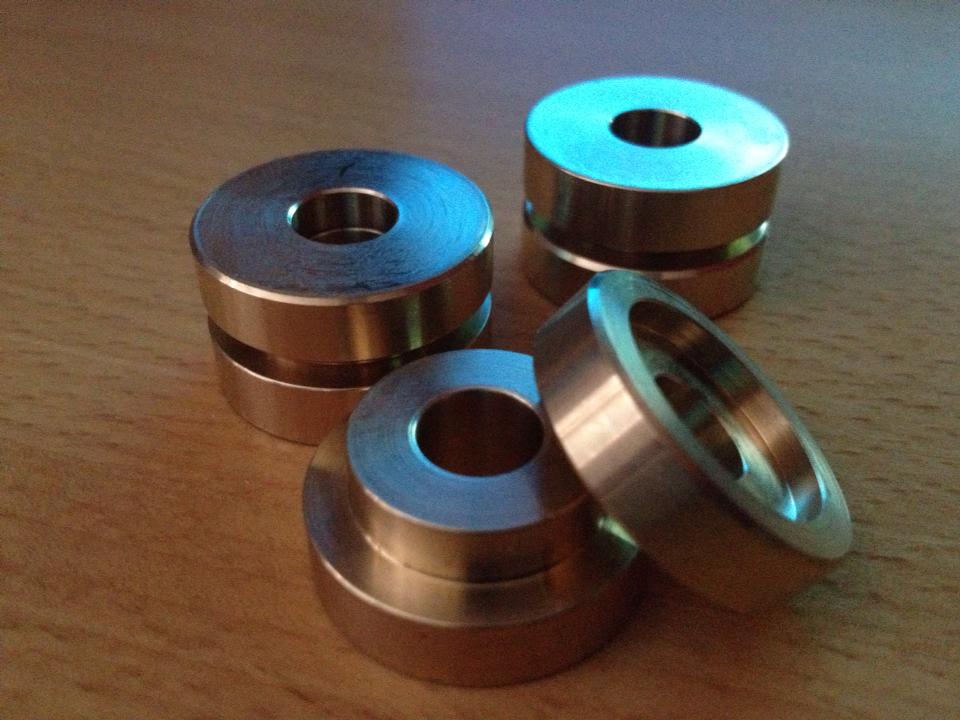
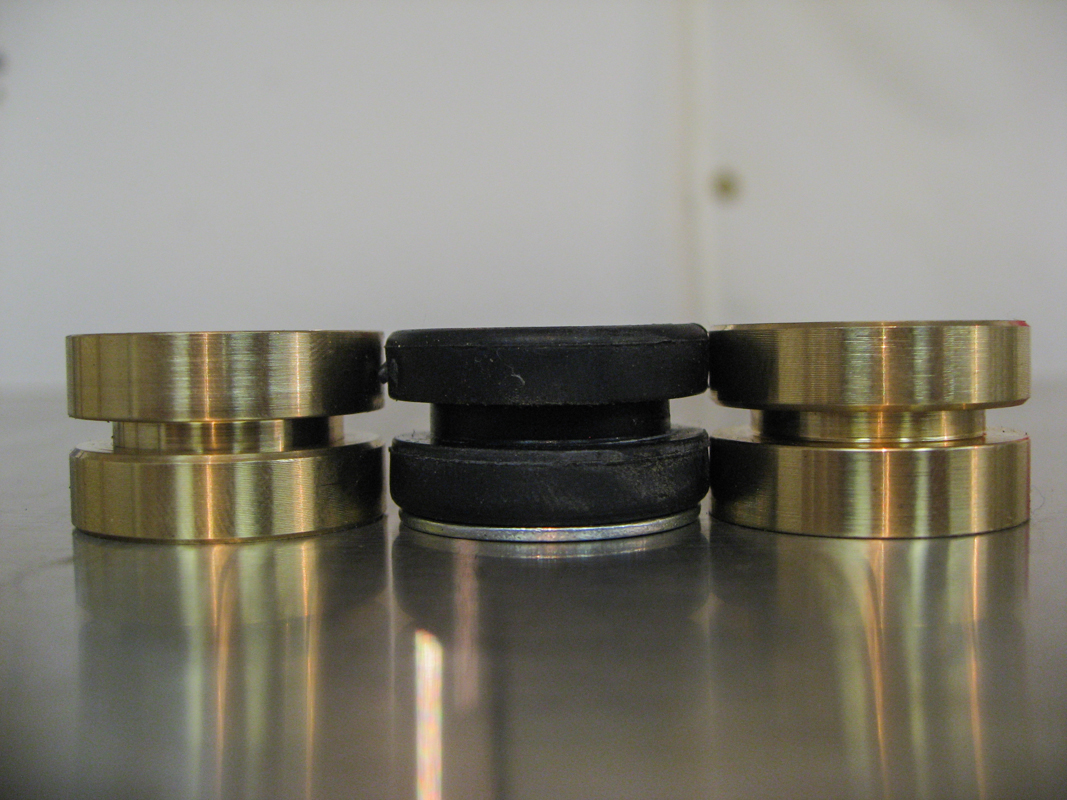
Here's a comparison shot. The Tyrolsport bushings are two piece and I couldn't find any thickness or orientation difference between them. In fact in this picture the left one has the "cap" on the bottom and the right one is reversed. I checked the thickness with calipers and they were identical. That said, when installing these they go in through the bottom with the "cap" on top. This ensures that the bushing slides into the bracket correctly and isn't wedged in place. Slide the first bushing in place in the hole nearest the engine. Hold off on installing the other bushing for now so that it doesn't accidentally drop out.
As I said earlier it's easier to work if you've got one bolt secured so go ahead and secure the bolt in the bushing closest to the engine. You'll want this to be just about tightened all the way, just a bit loose so that you can get the remaining bushing out. Note that it's safer to start these bolts by hand to avoid having them cross thread.
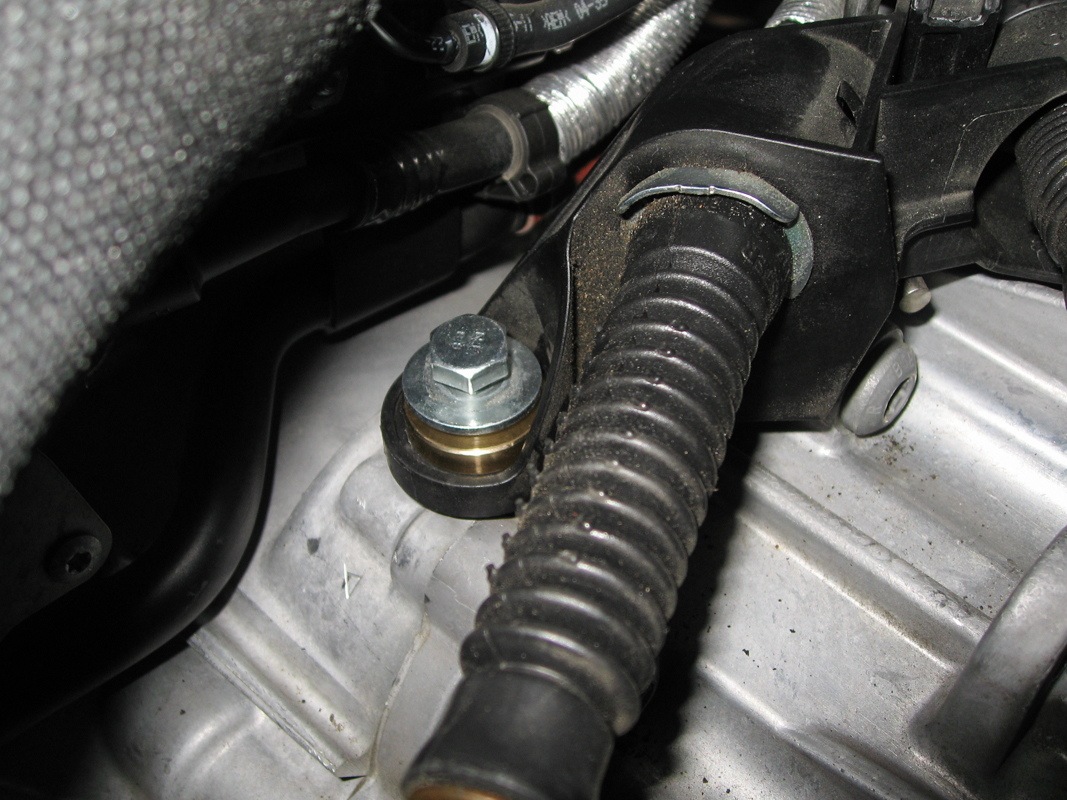
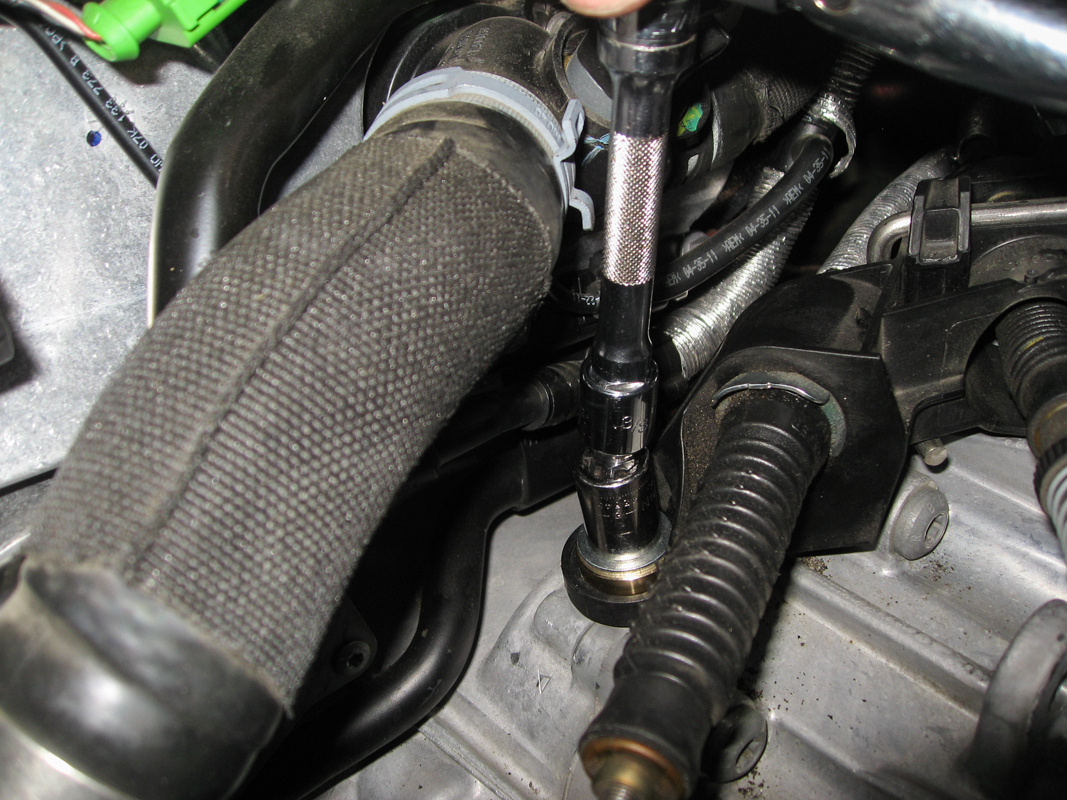
With that bushing secured you can now unbolt the rear bushing and remove it. The brake master cylinder is right above the bolt so you'll need to switch to a combination wrench here, at least they left enough space around the bolt head that a ratcheting wrench would fit :) Also note the length of the wrench I'm using, these bolts are not torqued very tight.

After removing the last bushing you can install the Tyrolsport bushings in the remaining two spots. Be sure to orient these the same way, with the "cap" on top. Thread the bolts back in by hand to get them started and then go ahead and tighten all three. I couldn't find torque specs for these in the manual but they weren't very tight; they're threaded into aluminum and are holding a plastic bracket so just use a short handled wrench and don't go nuts :)

Hop in the car and row through the gears to make sure everything is still smooth. If not check that the cables aren't hung up on anything and that the bracket is lined up correctly, shouldn't be a problem given the small tolerances on the Tyrolsport bushings.
Reinstall the airbox, carefully starting the 10mm bolts with a magnet tool, and refit the hoses and clamps and you're all done.