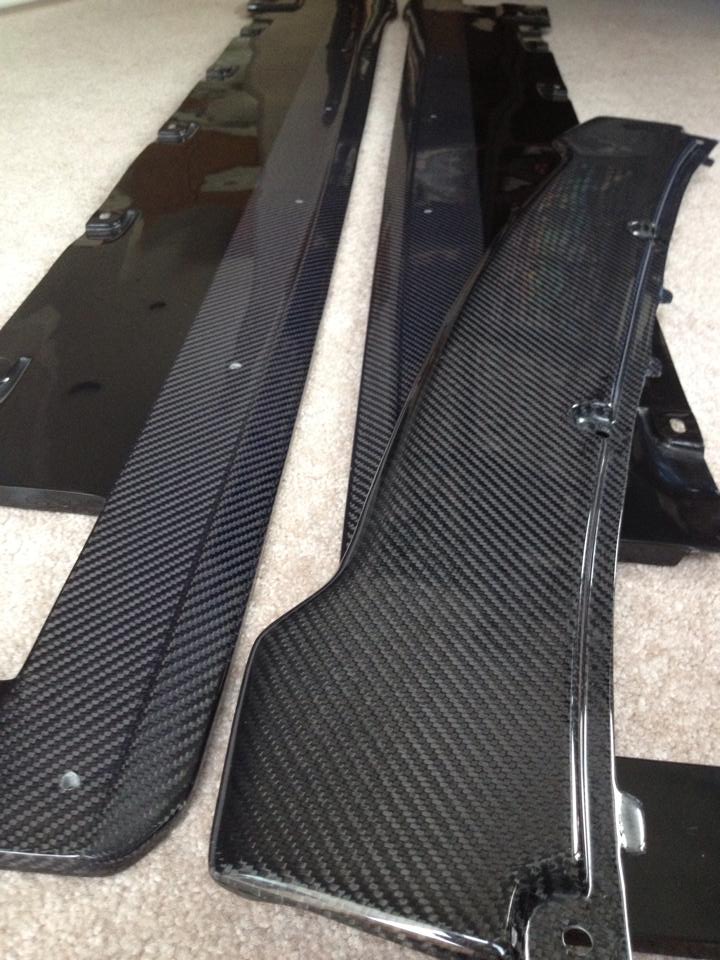
The skirts themselves are pretty large, about 7ft long and 6-9 inches wide although only about 1/2" thick. They're made of what appears to be a fiberglass and carbon fiber. The fiberglass section is hidden under the bottom of the car and then a lip of carbon fiber extends out along the edge of the factory skirts. It's a subtle effect but the profile suits the lines of the car perfectly. It's a great accent piece.
Install took about 6hrs but that was making things up as we went since there were no instructions and then the wellnuts fought a bit at the end and that ended up burning quite a bit of time.
Standard disclaimer. Having large parts of the body fall off while driving down the road, or track, is dangerous. Take it to a bodyshop if you're not sure of what you're doing.
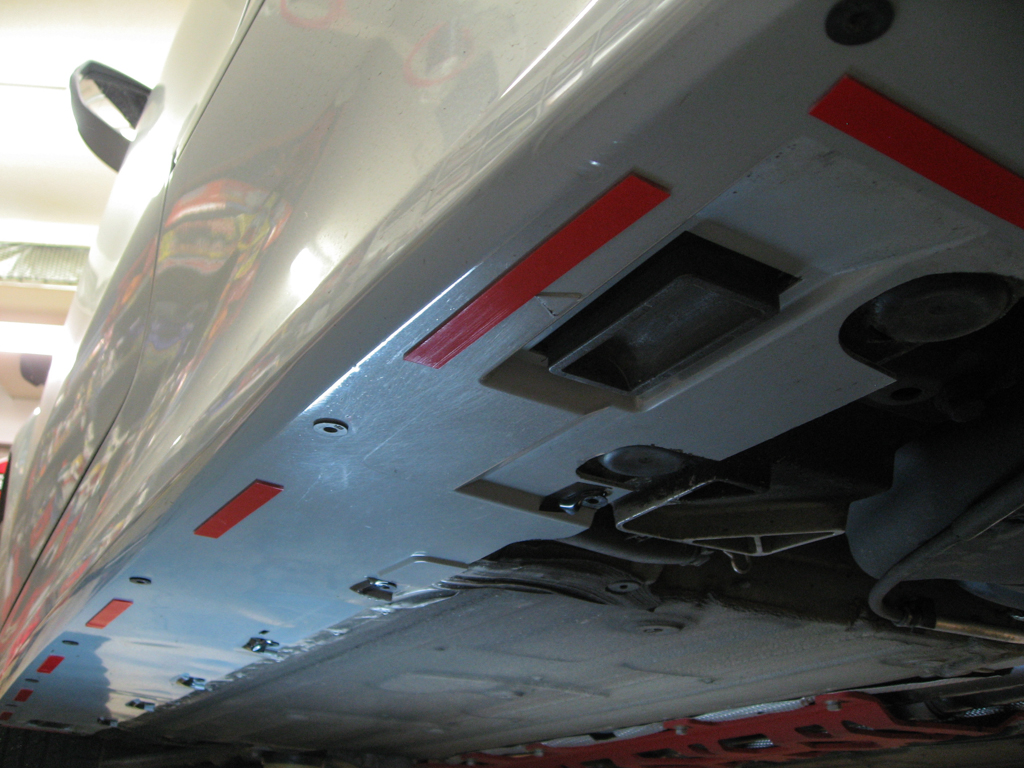
In the pic below the Osir DF-S splitter is sitting on top of the skirts. The carbon itself is very nice quality with the usual glossy finish. You'll notice too that the fiberglass section has cut-outs to clear the jack pads and if you look closely you'll see raised areas that mate up to the factory skirts. These are very helpful as it gives a fixed location for the skirts to mount to the car. I had been slightly worried that these would have no guides and you'd have to eyeball the fitment but they go exactly where they're supposed to live, no guess work.
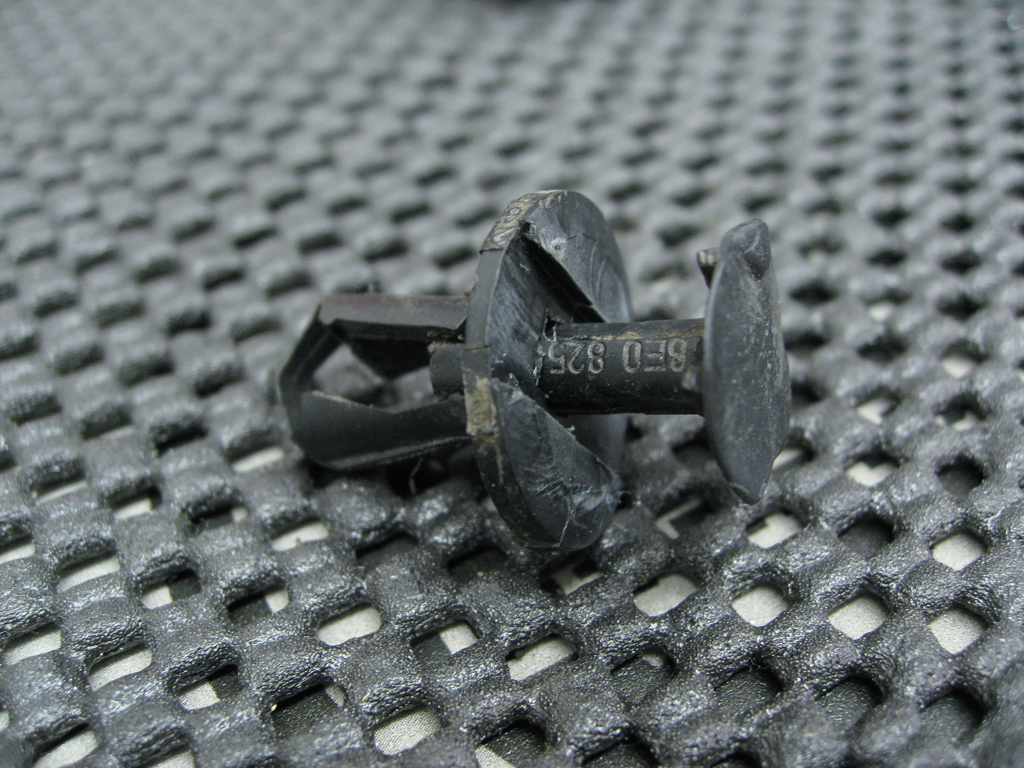
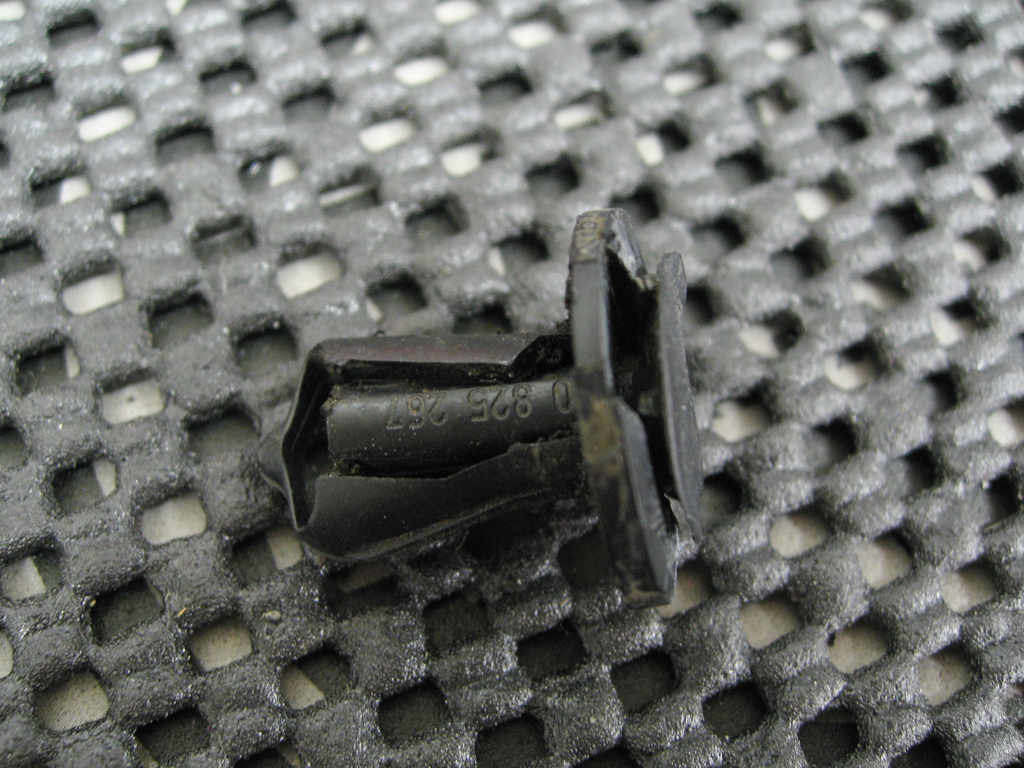
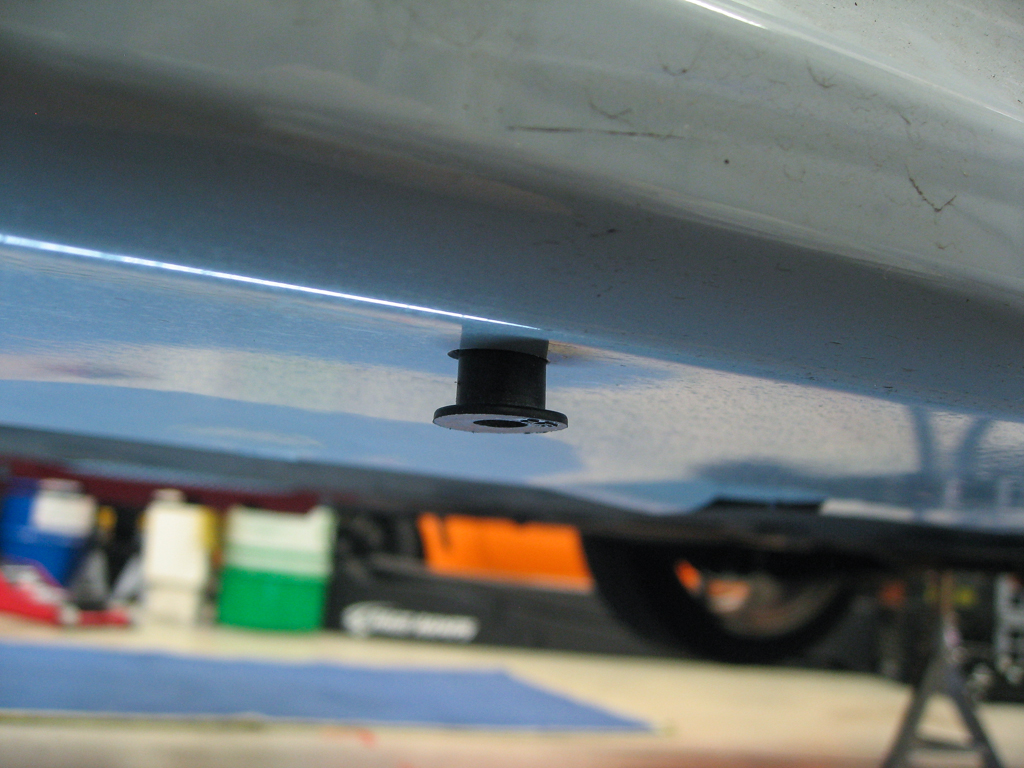
The factory skirts are attached to the underside of the car using VAG plastic pop rivets. The center rivet portion when seated all the way in pushes the prongs out and that secures the rivet and the bodypart to the unibody.
These are a different variety than I've used in the past and do not come out very cleanly. The cap portion of them is soft plastic that bends easily. Not much chance of reusing these so just grab onto the center portion with a pair of pliers and yank them out.
As mentioned there are no installation instructions included but it appears that Osir wants you to use these plastic rivets on the inner row of holes and then use the included wood screws in the outer row of holes to attach the carbon skirts to the factory skirts. IMO that is grossly inadequate.
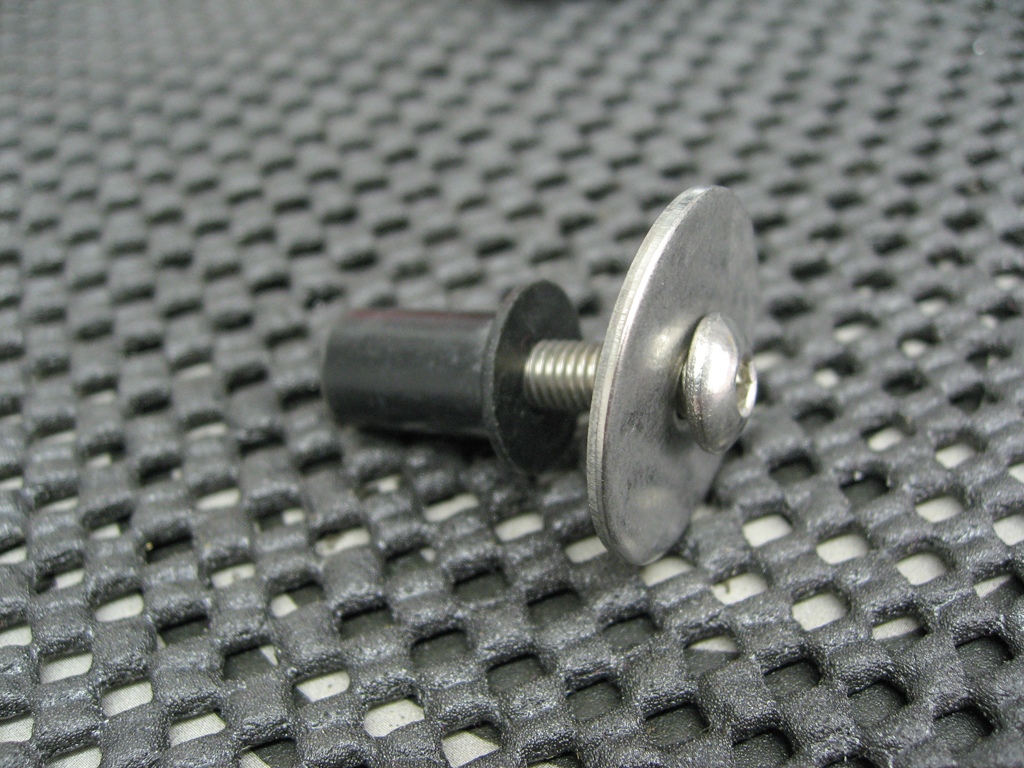
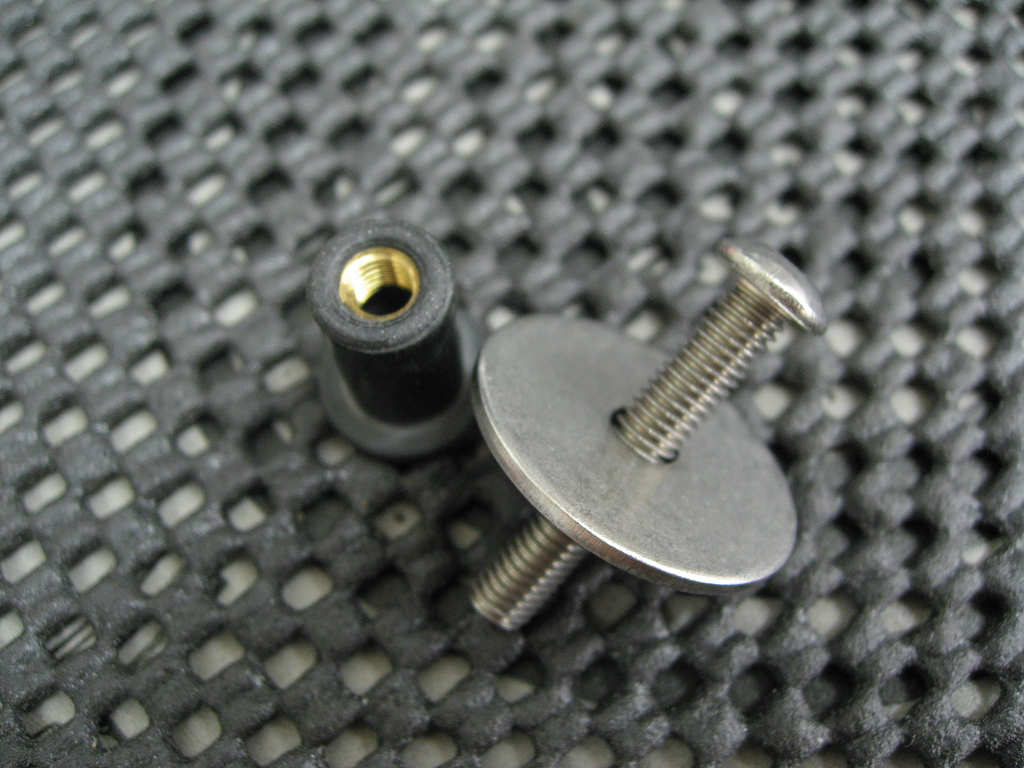
What I ended up using for both the inner and outer row of fasteners are something called wellnuts. These are a small nut bonded to a rubber sleeve. They are inserted into a hole in the body, similar to a rivet, and then when a bolt is inserted and torqued down the rubber is pulled down and deforms to stay secured in the body. An alternative to this would be rivnuts like I used on the Unibrace install.
There's 15 per skirt so 30 total and you'll want extras in case you run into problems. The bolts are m5 x 30 and then a fender washer to seat against the Osir skirt.
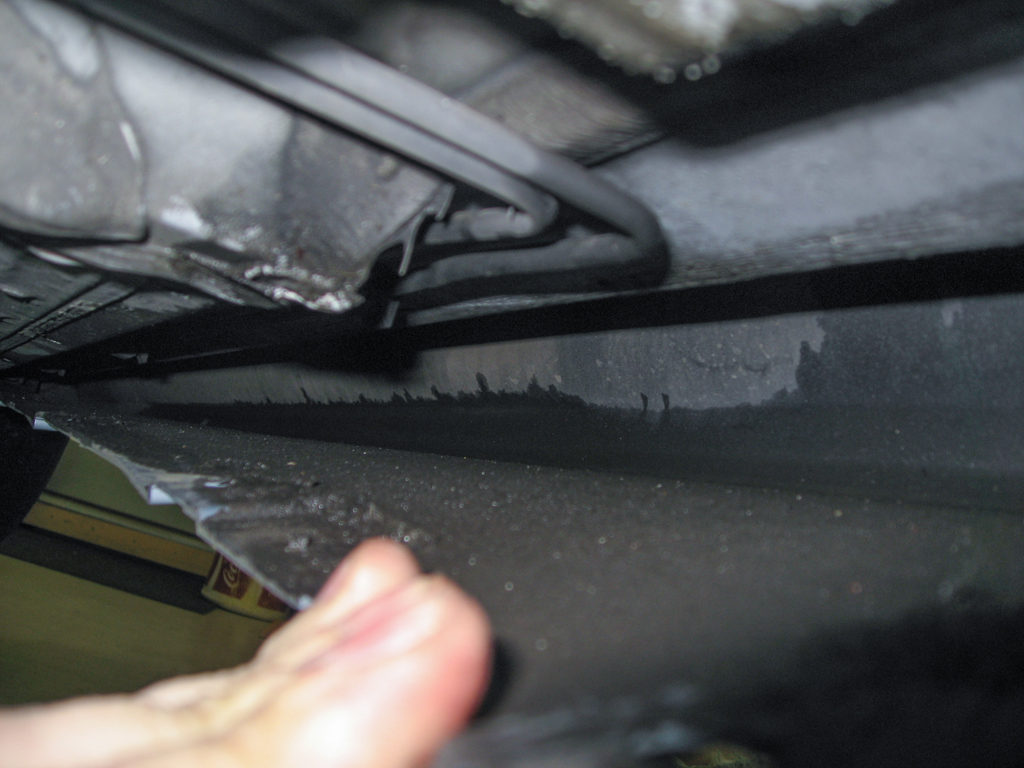
Anyway, I felt the wellnuts would be a far more secure way to fasten the Osir skirts to the factory skirts. The inner row of wellnuts would be inserted into the unibody and the outer row would just go into the factory skirts. I was wondering how close the outer edge of the factory skirts (ie the part that is visible under the door) was to the unibody. If it would be possible to drill through the factory skirt and attach a fastener to the unibody for the outer holes. Once you get the plastic rivets out you can pull the factory skirt down from the car and peer inside and it is not anywhere close to the unibody. That's good because there's less chance of accidentally drilling into something important but bad because it limits your options for fasteners. In this case I think using the supplied wood screws would not be very strong since they're just going into 1/8" of ABS. The wellnuts should be much stronger and much more durable.
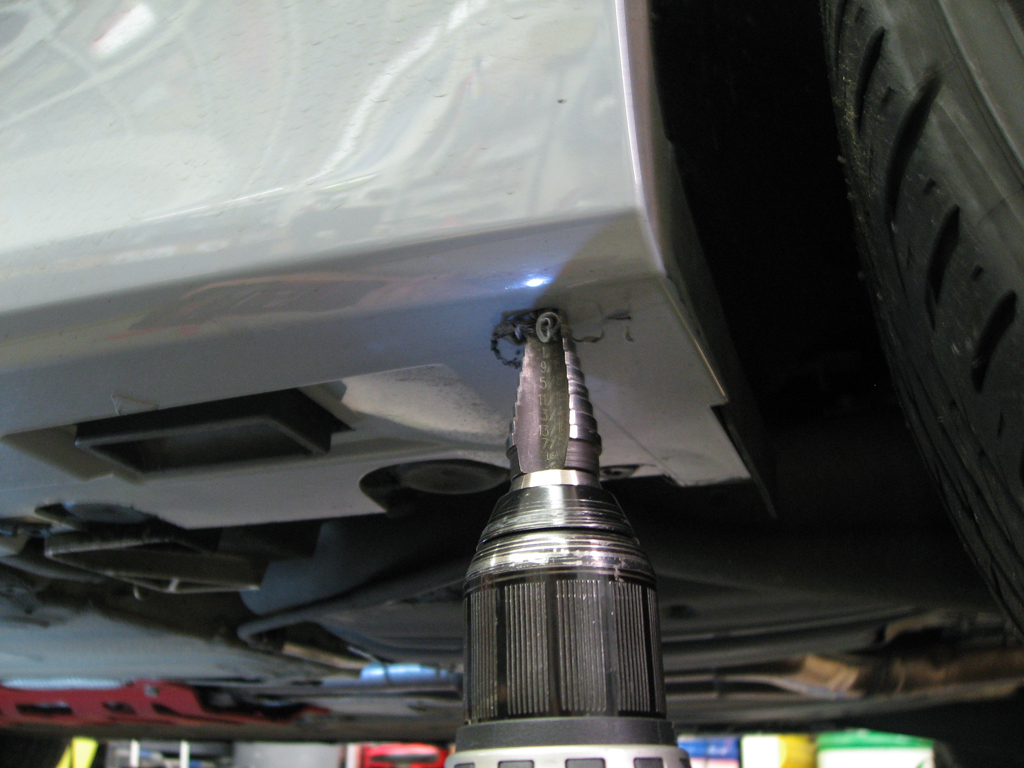
To facilitate using the wellnuts for the outer row of fasteners holes needed to be drilled in the factory skirts. In order for the wellnuts to work they need to be very snug in the holes. We used a step-bit and checked the depth and fitment carefully as we went. You also need to mark these precisely since the inner row of fasteners mates up to those indents in the factory skirt.
Then it's just a matter of drilling both the inner and outer rows for all of the fasteners, note on the inner row you also need to widen the existing pop-rivet holes in the unibody.
We also used some double-sided body tape as some extra insurance. You can see the double row of wellnuts all the way down the length of the factory skirts.
Then it's just a matter of bolting everything up. You want the bolts to be pretty snug going into the wellnuts. They'll get quite tight, just like torquing into a rivnut really. In the end this came out really well. The skirt is mounted quite solidly to the car and I'm not at all concerned that they'll work their way loose.
We did have some problems where the wellnuts would not cinch down and tighten. I'm not sure if they were loose or if the threads got contaminated with carbon fiber dust as the bolt went thru the Osir skirt. We were able to remove most of those troublemakers and use new wellnuts.
I think if I was going to do this again I'd use rivnuts for the inner row of fasteners into the unibody and for the outer row I'd just use standard lock nuts. I'm pretty sure it'd be possible to pull the factory skirts down and away from the body and reach inside to do the outer row of fasteners and then finish with the inner row into the unibody.
After all of that I'm very pleased with the end result :) More pics here.