Here was the original damage... This is available for sale if someone wants a spare door to paint, powdercoat, or wrap.

Removal of the door is trickier than I thought it would be. I had done the same replacement on my mk1 and that was a bit easier to deal with.
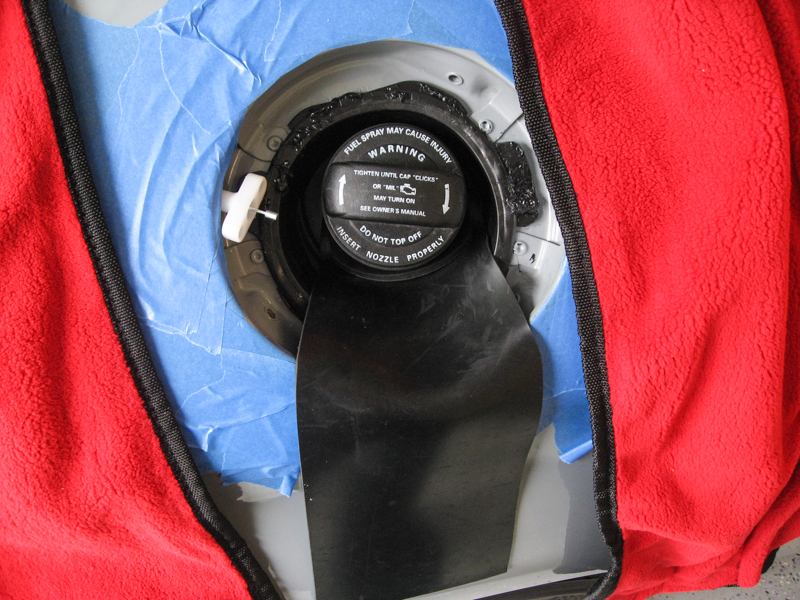
I prepped the area first to protect the paint and the fuel door, using 3M painters tape and a couple of Griots fender cover blankets.
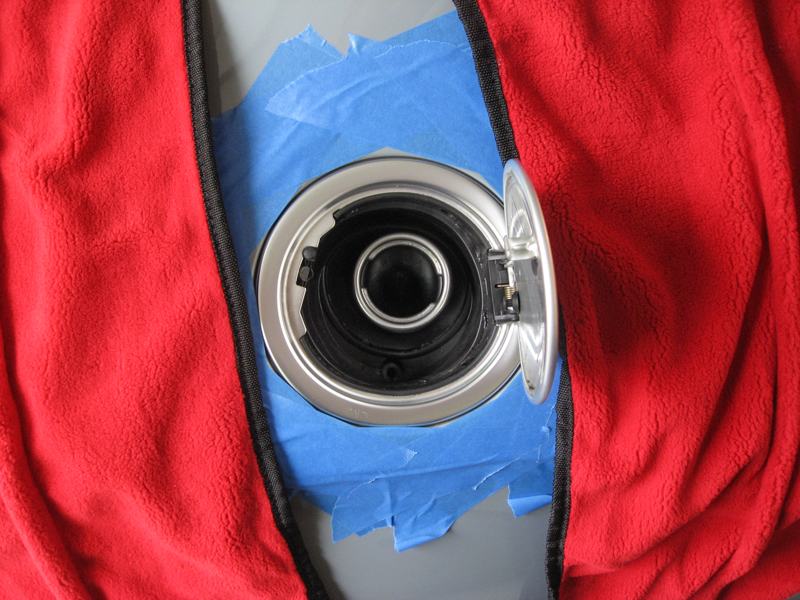
There are three 3mm allen bolts holding the door to the body, three tabs that hold it down flush with the body and some of the famous black German body glue. The glue doesn't really do too much but one of the tabs needs to be retracted to release the cap.
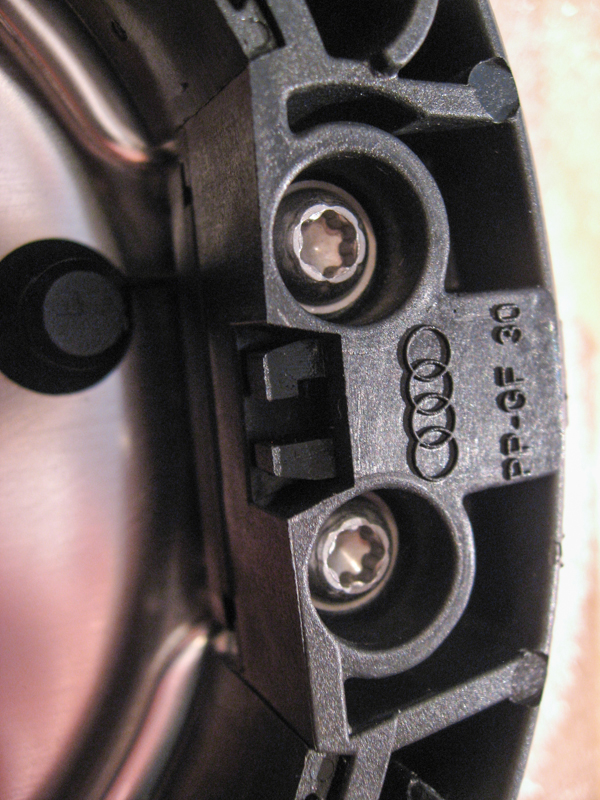
Start with the three 3mm allen bolts first. These come out relatively easily, you may need to remove the gas cap to get the right angle on the top bolt. These were a bit rusty from exposure to fuel, even with just 18k miles on the car.

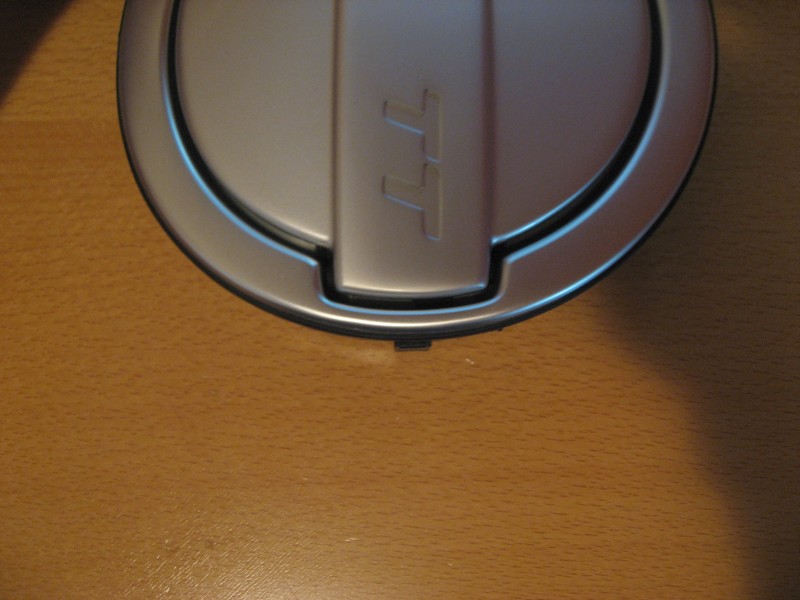
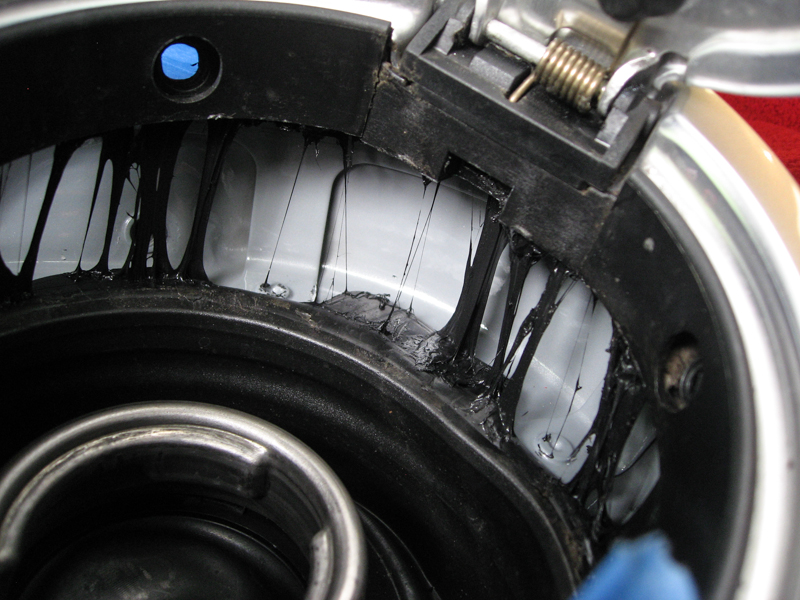
I was able to get a small pry tool in to start to lift the door but it was obviously held in place on both ends and wouldn't just lift out. To the front of the car is the tab that needs to be retracted and at the back is the release cable assembly. Here are the small rear tabs, if you open the door they are basically in line with the plastic inner trim, at about the 8 and 11 o'clock positions.
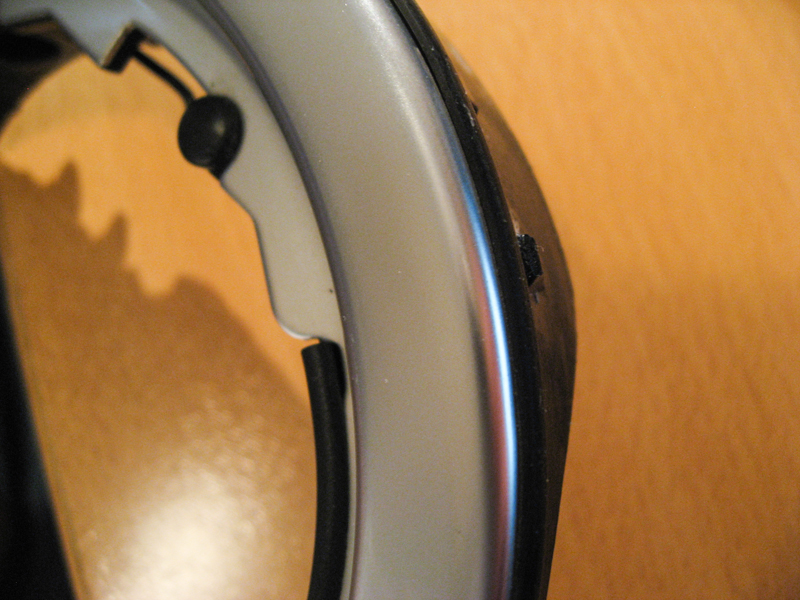

These along with the catch mechanism mean that the front edge has to come out first. To do that the retractable tab needs to be retracted :) If you look at the base of the hinge you can see the end of the tab that you pull on. It's designed to have a small hook tool inserted to pull it outwards which pulls the tab in away from the body. Here's a view looking down at the top, the tab does not stick out very far but there's really no way to force this out around the body.
I tried to pull the catch mechanism with a hook and that seemed to work ok but I ended up cutting a small allen key down to make something that was closer to the tool shown in the manual. On my first attempt I thought I had it pulled all the way out but the cap still wasn't free. I pushed it all the way back in and then pulled it back out and it released on the second try. Here you can see the catch from below.
Some gentle prying should lift the cap out now and you'll get a trail of the glue, it's pretty easy to clean up though.

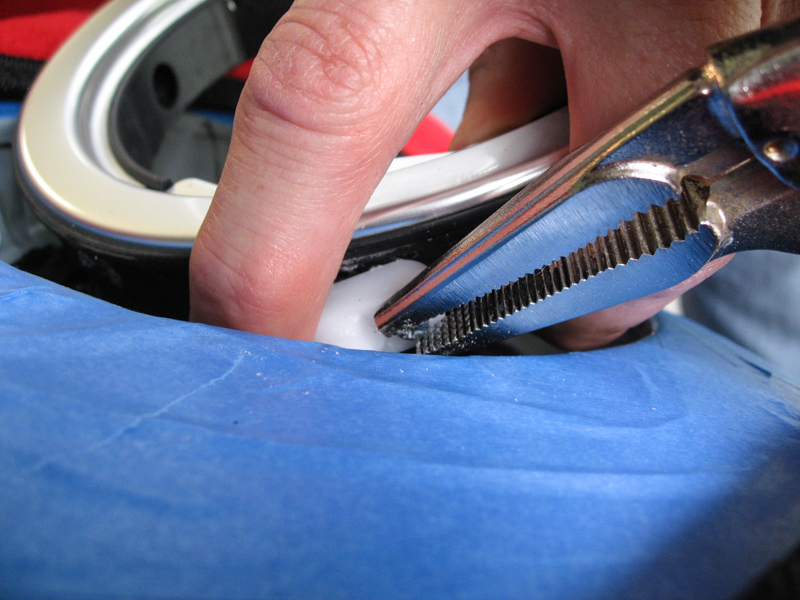
The next challenge is the cable release mechanism. On the mk1 the cable pulled out far enough to allow you to undo the screws holding it to the fuel door, on the mk2 not so much. You have two choices here... Open the trunk liner and undo the cable or take the screws out. We opted to take the screws out and after trying a couple of 90^ screwdrivers ended up just working them out with some vise grips... brute force but it worked :)
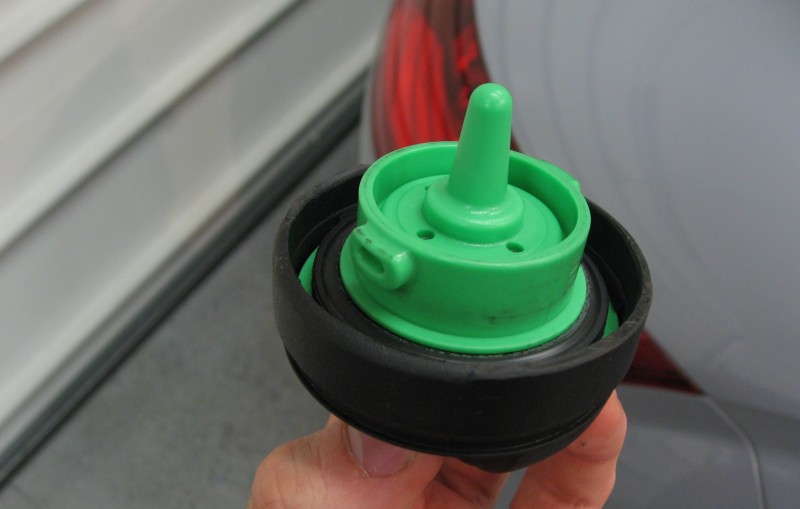
That should allow you to completely remove the fuel door. If you're just replacing it just follow the reverse steps to re-install. We were installing the protective bib though so on to the second part. As I mentioned above, we sourced some rubber sheet from Ace Hardware, about 4" x 8" x 1/16". The fuel filler neck is about 2" in diameter so you'll have to cut a hole in the rubber to fit it snugly around the neck. The top will need to be trimmed to clear the inside of the fuel neck too as it's a bit tight at the top. Take your time and trim the rubber so that you get sufficient protection but also so that it can still fold up and tuck under the door. Also, we needed to trim the tabs on the gascap that are used to hang the cap on the door. I don't really like hanging the cap on the door anyway since there's a chance it can scratch the door or slide off and hit the paint. Not a big loss to dremel those down.
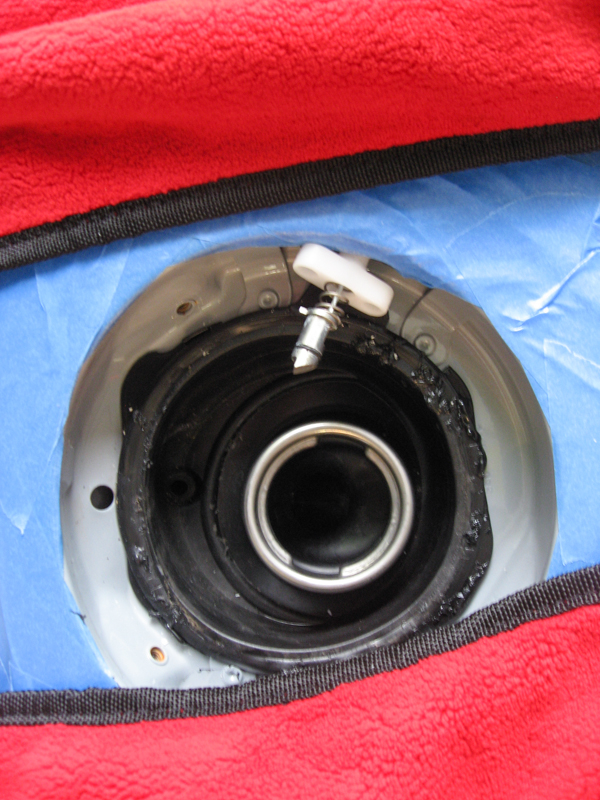
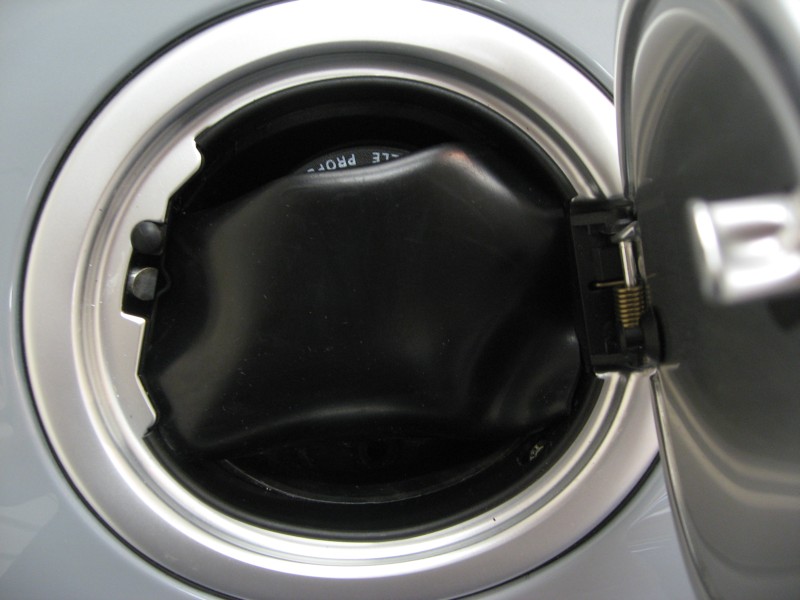
Finally, here's a test fit with the bib in place snug around the fuel filler neck, it still needed to be trimmed a bit for length and width in order to tuck under the door at this point.
And with it folded up with room for the door to close.
No comments:
Post a Comment