Not many tools required for this one:
13mm box wrench or socket
15mm open wrench
Brake caliper windback tool
You don't strictly need the windback tool but it really does make much easier.
I'll assume you've got the car safely supported on jack stands and the rear wheels off. Please do make sure you've got the parking brake released otherwise this will be much harder ;)
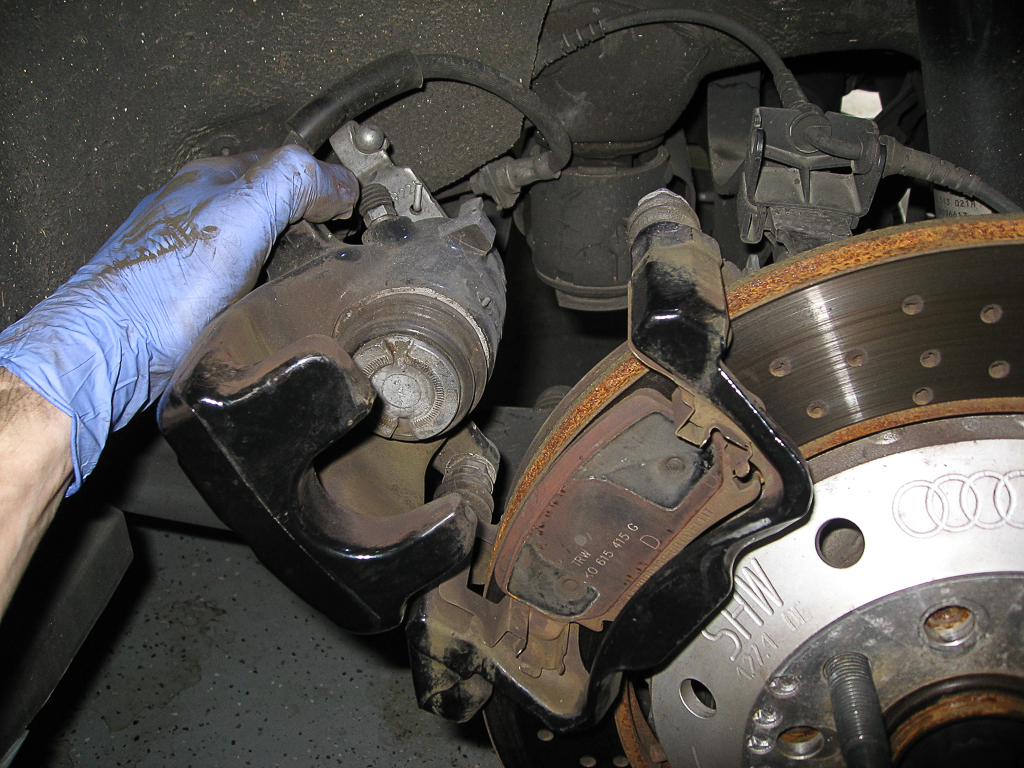
This is looking down at the top of the caliper. Remove the 13mm bolt that holds the caliper to the caliper carrier. It's a very shallow head so be careful to not strip it. You'll need to counter hold the in the middle to keep it from turning while you back the bolt out. These should only be tightened to ~30ft lb so you won't need a massive amount of leverage.

With just that top bolt removed you can pivot the caliper back out of the way to get access to the pads. It might take a bit of wiggling back and forth to get it to release from the pads. If it really won't come loose make sure the ebrake is released :)
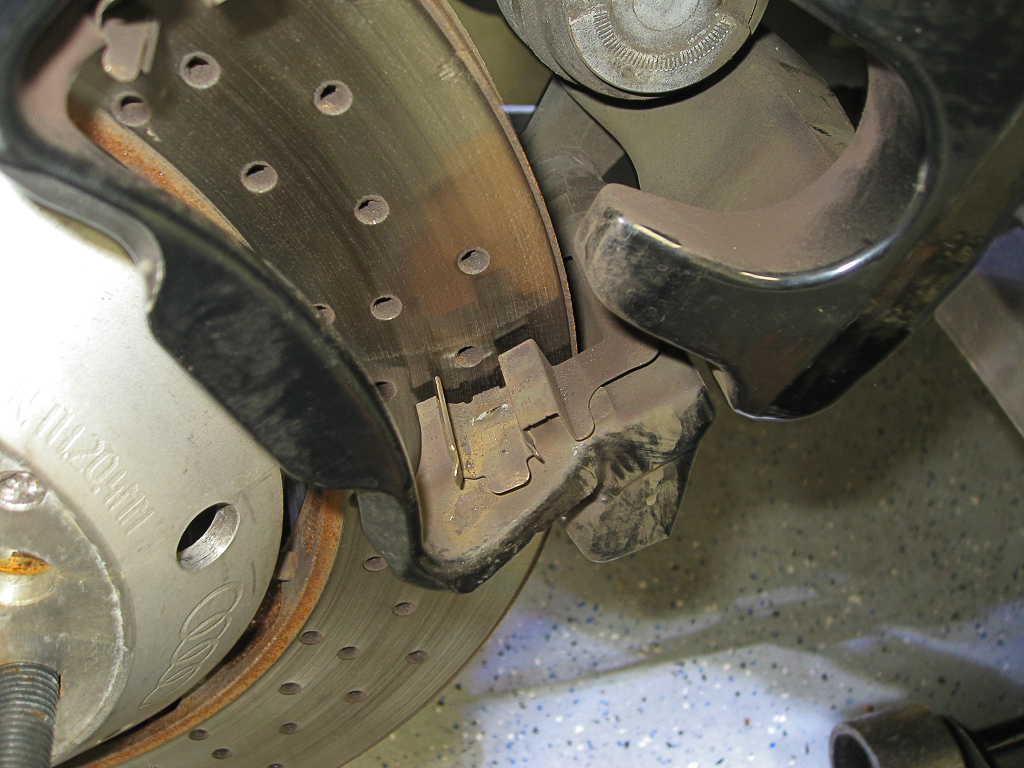
Just slide the pads out from the side. If you're using factory pads they probably came with new anti-vibration clips. These are the metal clips top and bottom as seen below. They just sit in grooves in the caliper carrier and come right out. If you didn't get new ones it's probably worth removing them and cleaning them up with some brake clean.
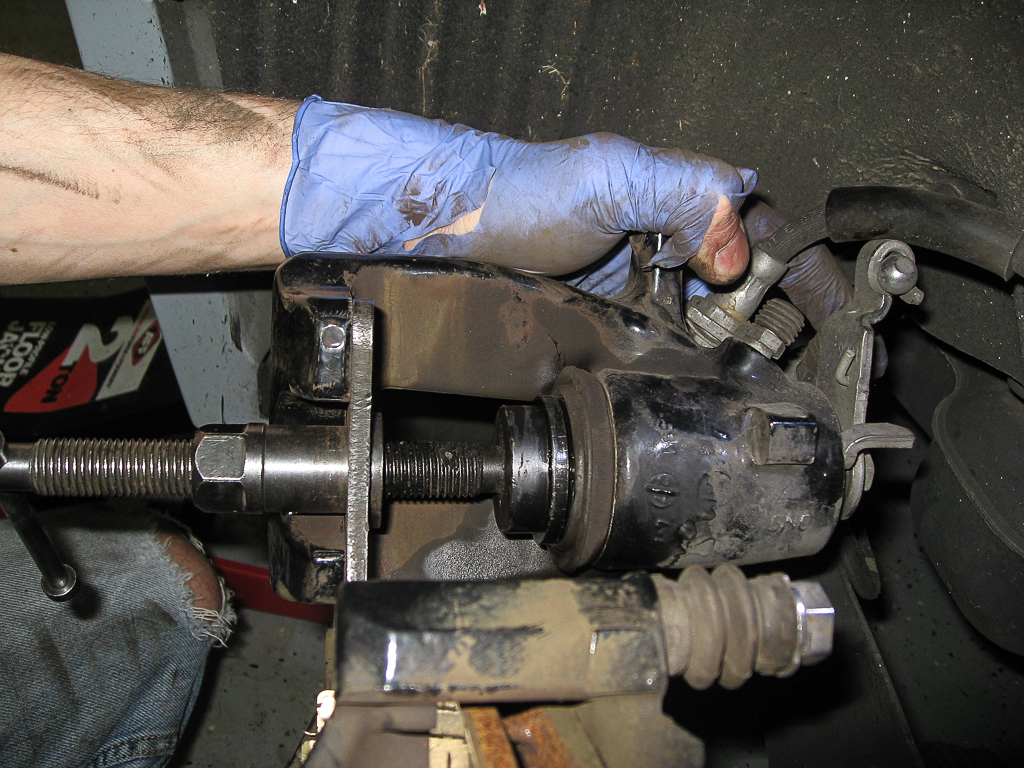
Last step in disassembly is to wind the piston back into the caliper so that there's enough room for the new pads to slide in. Be careful when doing this that you don't go too quickly and accidentally tear the boot or piston seal. Also the boot will likely be covered in brake dust, clean that area up before starting.
Just find the correct sized insert for the slots in the piston and wedge the tool in between the piston and caliper and turn the handle slowly to compress the piston. It'll bottom out once it's in all the way.
Slide the anti-vibration clips back into the grooves in the caliper carrier and slide the new pads in too, making sure the friction material is facing the rotors ;)
Rotate the caliper back into place and reinstall the bolt, use the new ones provided if you're using factory pads. Torque the bolt to factory specs (~25 ft lb).
Important! Cycle the brake pedal a few times and test the ebrake to make sure the piston moves correctly and no brake fluid leaks from anywhere.
Caution!! If you don't do the above steps the first time you try to stop the pedal will go to the floor since the piston has been retracted. This unexpected increase in braking distance could result in an accident and potential property damage.
Caution!! Using new pads on an old rotor is not optimal as there are micro grooves worn into the rotor surface so you will not have a lot of actual surface contact between the pads and rotors until the pads bed in.
No comments:
Post a Comment